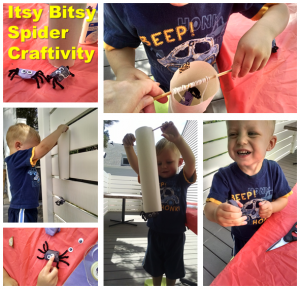
 We couldn’t leave one of the long-time favorite children’s’ learning songs “The Itsy Bitsy Spider”, out of our mix.
One of the ways children (and adults) learn, is through tactile motions. What a better way to have the children remember a song like this than through actions! Well, since somebody already did a pretty good job of that, we thought it might be fun for the kids to create something as well.
Doing crafts and activities help children maintain memory and learn different and important skills. We decided to create a fun little activity/craft (craftivity) for the kids to help them put actions and processes to memory while practicing tactile skills and motions that are important to their development and growth.
Try this awesome craftivity with them and you just might have some fun too! My son absolutely LOVES this one.
Itsy Bitsy Spider Craftivity
What you will need:
Black tissue paper or black construction paper, two black pipe cleaners, glue or stick on googly eyes, tape (and or Elmers Glue), an empty paper towel roll (or A4 sheet of paper to roll into a tube), a regular drinking straw (not the bendy kind , or in my case a bamboo skewer), yarn or string, scissors, and a hole-punch. 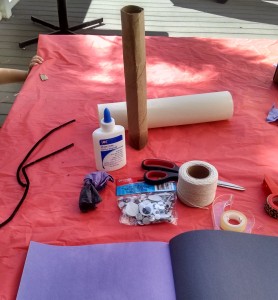
How to create:
1. Take your black tissue paper or construction paper and wad into a small ball. Make sure it’s only about half the size of whatever tube you have (or will) make. Squish the ball so that it’s more flat and round to make the body of the spider. If you need to cut or tape loose ends to make smooth, do so.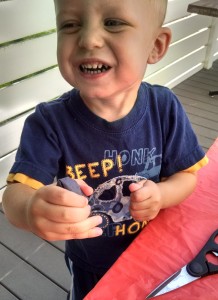
2. Cut two black pipe cleaners into four equal length pieces each for the spider’s legs. Tape or glue them onto the sides of the body of the spider. Or, you can do what I did and while I was crumpling and folding the paper I made a small opening all the way through the spider so I could thread the legs all the way through to the other side!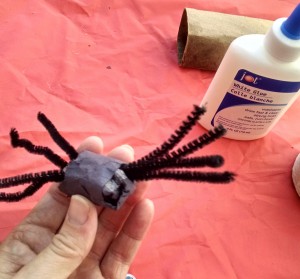
3. Take two googly eyes and stick (or glue) them on the top of the flattened ball body to make a cute little bug-eyed spider!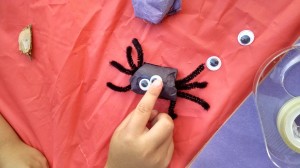
4. Get your empty paper towel roll and punch two holes at the top on either side for the straw to go directly through the top of the roll. If you are using A4 paper, roll and staple or tape to create the “water spout” and do the same at the top with the hole-punch.
5. Thread the straw (or skewer) through the two holes at the top of the “spout”.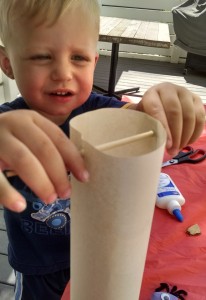
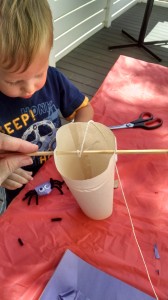
6. Take your yarn or string and tie one end around the straw in the middle section where it runs through the spout. Measure out a lengthy piece (enough to lower your spider down and up through the spout so he can pop out the other end) and then thread it down through the spout. At the other end, glue or tape the yarn to the spider. (I ended up using double sided tape to tape to the spider and then to the string. It worked like a charm with a little bit of pressure.)
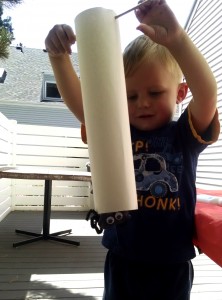
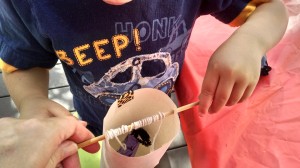
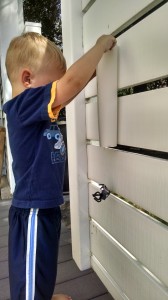
7. Get ready to have some fun! The kids will love rolling the straw to lower the spider down and up the spout. If you need to, tape the spout to a wall or other vertical surface so that the kids can do it all on their own. Seriously, it’s two and a half hours later and my son is back at it again! He LOVED this craft!
To make it even more fun, sing or play the song (below) with them while they are able to visually see their spider going up and down the water spout!
Like a lot of Boysenberrykids’ songs, you’ll find the good old original melody with an extra message specially written in. We always want our kids to keep their heads up and we hope these special metaphors of not giving up and knowing that the rain can’t keep them down just might stick with them. It’s a great song for ALL of us to know.